
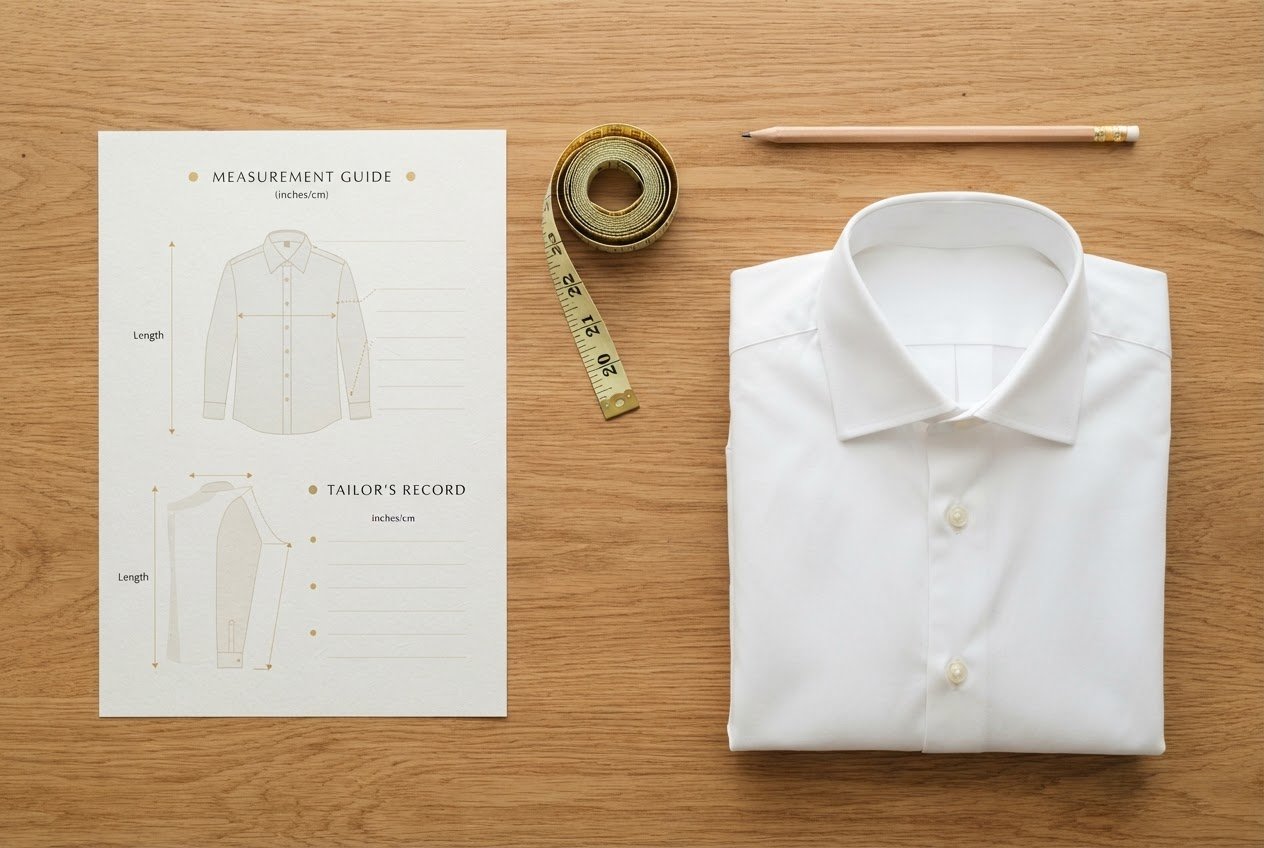
How to Measure Yourself for a Suit: Easy 9-Step Guide
Knowing how to measure yourself for a suit is what turns a great tailor into a lifelong one, because it means you can reorder from anywhere in the world without flying back for another fitting. It is not difficult, but accuracy matters: a centimetre in the wrong place changes the whole fit. This easy nine-step guide covers exactly which measurements to take, how to take them properly, and the mistakes that quietly ruin the result.
Table of Contents
How to measure yourself for a suit at home
The golden rule is to measure over the kind of clothing you would wear under a suit, meaning a shirt, not a bulky jumper and not bare skin. Stand naturally, relaxed and upright, and resist the urge to puff out your chest or hold your stomach in, because you want the suit to fit the real you. Record everything in the same unit, centimetres or inches, and note which you used.
What you need before you start
Gather three things: a soft cloth tape measure (not a rigid builder’s tape), a well-fitting shirt to wear, and ideally a friend to help, since several of these measurements are far more accurate when someone else takes them. A mirror is useful for checking the tape is level. Have a pen and the checklist below ready so you are not juggling numbers in your head.
The 9 measurements that matter
Take each one twice and use the second reading, which is usually the more relaxed and accurate of the two.
1. Chest
Wrap the tape around the fullest part of your chest, high under the arms and across the shoulder blades at the back. Keep it level and snug but not tight, and breathe normally. This is the most important single number for a jacket.
2. Waist
Measure around your natural waistline, roughly at the level of your navel, again keeping the tape level. Do not pull it tight or suck in; the tape should sit comfortably where trousers naturally rest.
3. Hips and seat
Measure around the fullest part of your hips and seat, keeping your feet together. This governs how the trousers and the skirt of the jacket sit, so do not skip it even if it feels less obvious than chest or waist.
4. Shoulder width
Best done by a helper: measure across the back from the bony point of one shoulder to the other, following the natural line where a jacket seam would sit. This is one of the hardest numbers to alter later, so take care to get it right.
5. Sleeve length
With your arm relaxed and slightly bent, measure from the shoulder point down the outside of the arm to the wrist bone, where you want the jacket cuff to end. A helper makes this much more reliable.
6. Jacket length
Measure from the base of the collar at the back down to where you want the jacket to finish, traditionally around the knuckles of your relaxed hand. This is partly a matter of style, so note your preference.
7. Neck
Wrap the tape around the base of the neck where a shirt collar sits, adding a finger’s width of comfort. This feeds the shirt collar and the jacket’s collar fit.
8. Trouser inseam
Measure from the top of the inner thigh (the crotch seam) straight down the inside of the leg to where you want the trouser hem to fall, over the shoe you will wear. A well-fitting existing pair of trousers can be measured flat as a cross-check.
9. Trouser outseam
Measure from your natural waist down the outside of the leg to the same hem point. Together with the inseam, this pins down the rise and the overall trouser length.
Common measuring mistakes
A few errors account for most bad home measurements. Pulling the tape too tight is the biggest, as it produces numbers smaller than your real body and a suit that pinches. Measuring over thick clothing does the opposite. Letting the tape sag or tilt out of level distorts chest and waist readings. And guessing the sleeve or shoulder alone, rather than having a helper, is a common source of error. Take your time, and take each measurement twice.
Printable measurement checklist
Copy these into a note or print them, fill in the numbers, and keep them somewhere safe for future orders:
- Chest: _____
- Waist: _____
- Hips / seat: _____
- Shoulder width: _____
- Sleeve length: _____
- Jacket length: _____
- Neck: _____
- Trouser inseam: _____
- Trouser outseam: _____
- Height and weight (useful reference): _____
- Unit used (cm or inches): _____
Reordering from overseas with your measurements on file
The real payoff of knowing how to measure yourself for a suit is effortless reordering. Once a tailor has fitted you in person, they hold a far more accurate record than any home measurement, including posture and fit preferences that a tape cannot capture. Om Fashion keeps every client’s measurements on file, so returning customers can reorder suits, shirts and accessories by message from anywhere in the world and have them shipped, with virtual measurement guidance if your size has changed.
If you have not been fitted yet, the best first step is an in-person visit. Our free hotel pickup and in-room fitting service brings the tailor to you across the Bangkok riverside, and you can start with our bespoke suits service or simply book a fitting. To understand the process your measurements feed into, read bespoke vs made to measure, and if silk is on your list, see how to tell real Thai silk first. For a broader view of the city’s tailors, the Pierre Blake Bangkok tailor guide is a good reference.
Frequently asked questions
Can I measure myself for a suit without help?
You can take most measurements alone, but shoulder width and sleeve length are far more accurate with a helper. If you are on your own, use a well-fitting existing suit as a cross-check.
How accurate do home measurements need to be?
Accurate enough to get close, but a tailor’s in-person fitting is always better. That is why reordering from a tailor who already has your fitted measurements on file beats measuring from scratch each time.
Can I reorder a suit from overseas?
Yes. If a tailor like Om Fashion has your measurements on file from a previous visit, you can reorder by message from anywhere and have the garments shipped, with guidance if your size has changed.